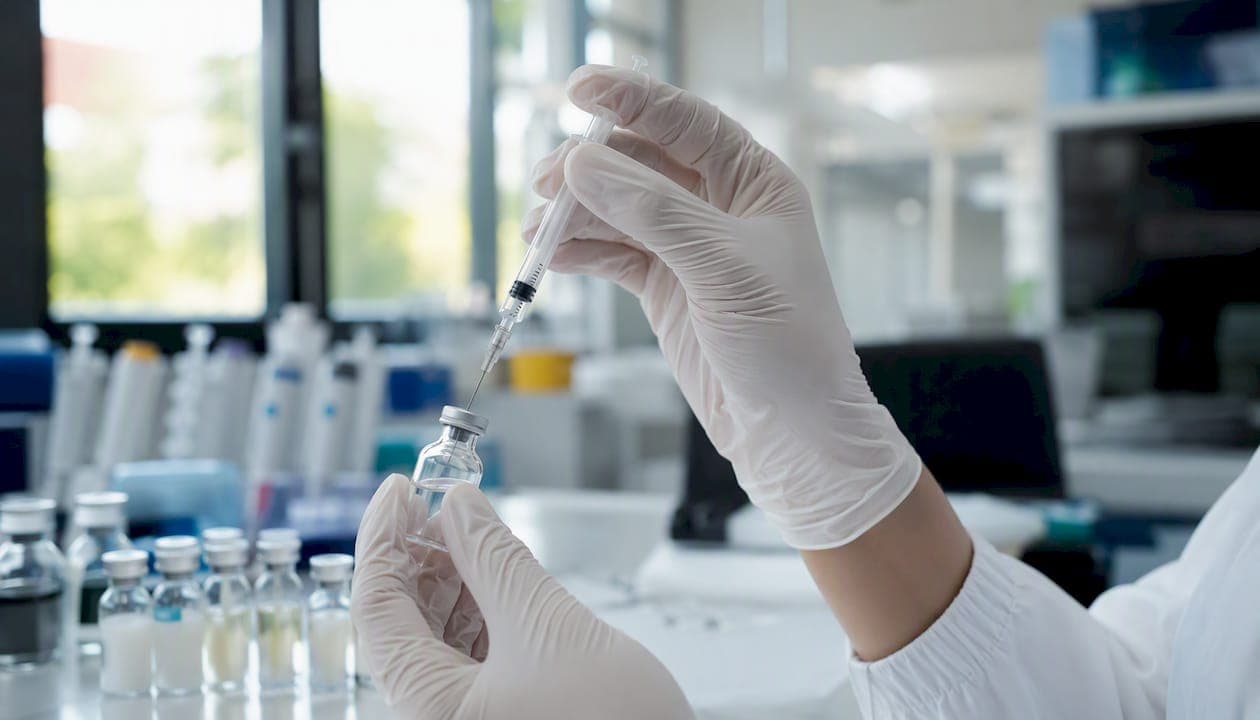
Calculate concentration first: divide vial mg by the milliliters of bacteriostatic water added, write that number on the vial, then convert your target dose to U-100 syringe units using the formula below. That two-step sequence, paired with a clinician review before the first draw, is the foundation of every reliable peptide dosing protocol.
The two rules to verify before drawing any dose:
- Concentration formula: mg/mL = vial mg ÷ water mL (e.g., 5 mg vial + 2 mL water = 2.5 mg/mL). Record this on the vial label immediately.
- Units formula (U-100 syringe): units = (dose in mg ÷ concentration in mg/mL) × 100. If your dose is in mcg, convert first: 1 mg = 1,000 mcg, so units = dose in mcg ÷ (10 × concentration in mg/mL).
- Reverse-check: after drawing, multiply units drawn by concentration, then divide by 100 to confirm the mg value matches your target before injecting.
- Safety floor: start at the low end of any published range and confirm the protocol with a clinician. The FDA's sharps guidance covers safe needle handling from the first draw onward.
- USAPeptide provides a free peptide dosage calculator that runs all four conversions from a single vial entry, reducing re-entry errors.
Key Takeaways
Concentration (mg/mL = vial mg ÷ water mL) is the single number that determines every downstream calculation in a peptide dosing protocol, and writing it on the vial before the first draw is the most effective error-prevention step available.
| Point | Details |
|---|---|
| Concentration formula | Divide vial mg by water mL to get mg/mL; record this on the vial before drawing. |
| Units formula (U-100) | Units = (dose mcg) ÷ (10 × concentration mg/mL); reverse-check the first draw every time. |
| Readable syringe range | Target 10–50 units per draw; adjust water volume to keep doses off the lowest tick marks. |
| Reconstitution and storage | Use bacteriostatic water for multi-dose vials; label with concentration and date; discard at ~28 days. |
| USAPeptide tools | The USAPeptide calculator runs all four conversions from one vial entry; the COA check tool verifies purity before ordering. |
Table of Contents
- How does the peptide dosing math actually work?
- What is the calculator-first workflow for peptide dosing?
- How do you reconstitute a peptide vial safely?
- Common peptide protocols: vial sizes, doses, and syringe units
- How do you inject a peptide subcutaneously?
- What are the safety limits and regulatory context for peptide dosing?
- How do you avoid the most common peptide dosing mistakes?
- The case for concentration-first workflows in peptide research
- USAPeptide tools that support this workflow
- Sources
How does the peptide dosing math actually work?
The single most important number in any peptide dosing guide is concentration, expressed in mg/mL. Every other calculation flows from it, so getting it right before the first draw prevents every downstream error.
Deriving concentration
Concentration is simply the mass of peptide dissolved in the total liquid volume:
Concentration (mg/mL) = vial mg ÷ water added (mL)
A 5 mg vial reconstituted with 2 mL of bacteriostatic water yields 2.5 mg/mL. Add 1 mL instead and you get 5 mg/mL. The peptide mass does not change; only the concentration does. That distinction matters when you switch water volumes between batches.
Unit conversions you need
Peptide doses are often written in micrograms (mcg), but vials are labeled in milligrams (mg). The bridge:
- 1 mg = 1,000 mcg
- 1 mL = 100 units on a U-100 insulin syringe
So a 2.5 mg/mL solution contains 2,500 mcg/mL, and every 1 unit drawn from a U-100 syringe delivers 0.025 mg (25 mcg).
The two core formulas
Dose in mg to units: Units = (dose mg ÷ concentration mg/mL) × 100
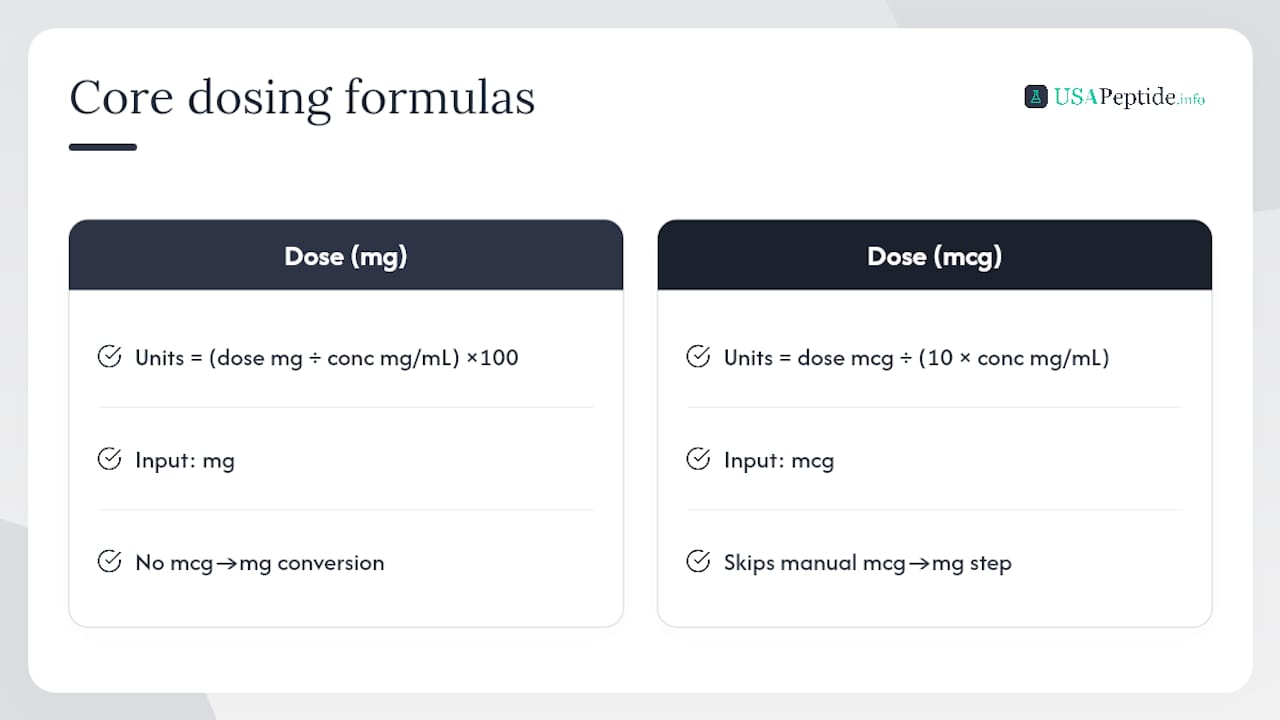
Dose in mcg to units: Units = dose mcg ÷ (10 × concentration mg/mL)
Both formulas are equivalent; the second simply skips the manual mcg-to-mg conversion step. The Rite Aid peptide dosage calculator applies these same formulas and provides worked reconstitution examples for common vial sizes.
Three worked examples
The table below shows how the same 250 mcg target dose lands on different syringe marks depending on how much water you add.
The 5 mg + 2 mL setup lands the 250 mcg dose at exactly 10 units, a clean mark on any U-100 barrel. The 10 mg + 2 mL setup puts it at 5 units, which is readable on a 0.3 mL barrel but tight on a 1 mL barrel. The premixed 2 mg/mL product gives 12.5 units, also readable.
Reverse-check example
After drawing 10 units from the 2.5 mg/mL vial: 10 units ÷ 100 × 2.5 mg/mL = 0.25 mg = 250 mcg. Confirmed. If the math does not match your target, stop and recheck the concentration label on the vial before proceeding.
Choosing water volume for readable marks
PeptideClock's dosing guide recommends targeting a draw in the 10–50 unit range on a U-100 syringe. Marks below 2 units introduce proportional error that is difficult to control with standard insulin syringes. If a dose calculates to fewer than 5 units, add less water to raise the concentration, or switch to a smaller barrel (0.3 mL) where each tick represents a smaller volume increment.
What is the calculator-first workflow for peptide dosing?
Entering vial mg and water mL once, then running all four conversions from that single entry, is the most reliable way to avoid mixing numbers from different setups. Shotlee's peptide calculator formalizes this as a four-tab workflow that persists the vial data across every conversion.
The four conversions
- Dose to units: enter your target dose (mg or mcg) and get the units to draw on a U-100 syringe.
- Units to dose: enter a unit mark and confirm the mg or mcg it delivers, useful for the reverse-check.
- Water for target mark: enter the unit mark you want the dose to land on, and the calculator tells you how many mL of water to add.
- Blend splitting: for premixed peptide blends, enter the supplier's component ratio to get each peptide's mcg per draw.
Blend splitting deserves a specific note. A premixed vial labeled "70 mg" at a 5:1:1 ratio does not contain 70 mg of any single compound. The calculator uses the ratio to assign each component its share, so you know you are drawing, for example, 50 mg of peptide A and 10 mg each of peptides B and C per full vial. Without the ratio, the math gives only total blend per draw.
Syringe barrel selection
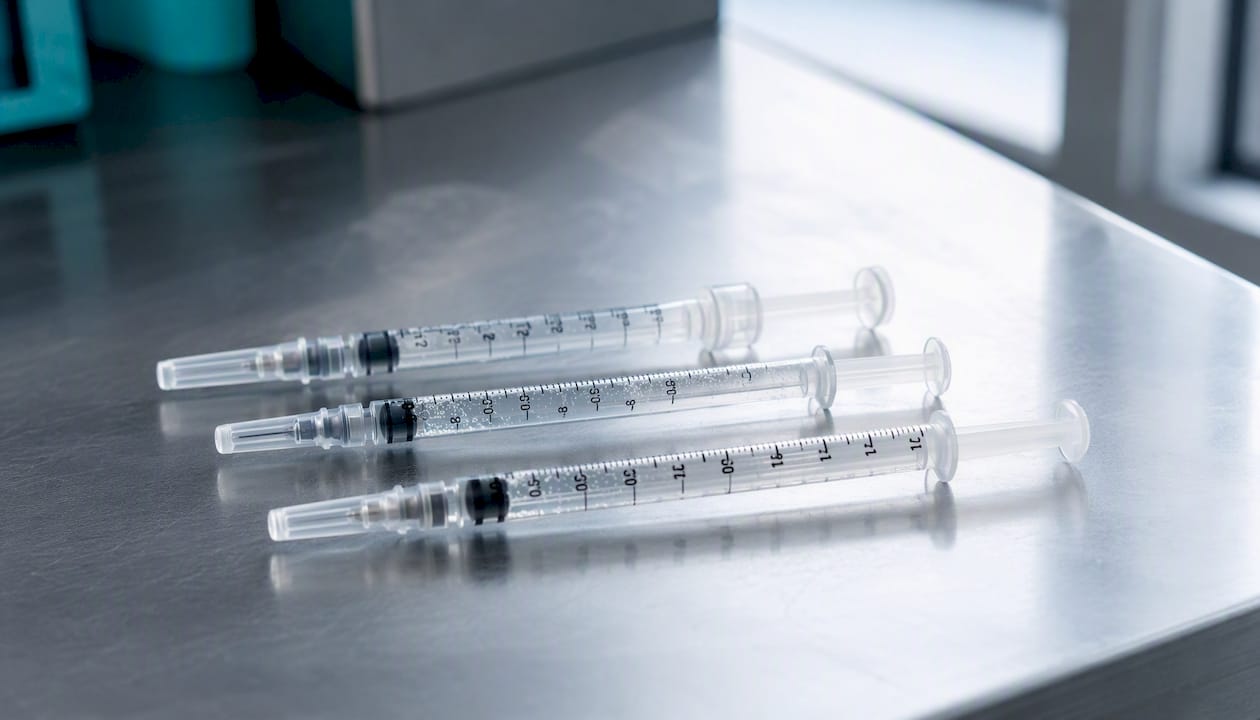
U-100 insulin syringes come in three barrel sizes: 0.3 mL (30 units), 0.5 mL (50 units), and 1 mL (100 units). Smaller barrels spread a given dose across more tick marks, making small volumes easier to read accurately. For doses below 20 units, a 0.3 mL barrel is the practical choice.
U-40 syringes use a different scale (40 units per mL instead of 100), and U-500 syringes are five times more concentrated than U-100. Using the wrong syringe type with U-100 math produces a fivefold or 2.5-fold dosing error. Always confirm the syringe type before calculating.
Pro Tip: Write the concentration (mg/mL), vial lot, and reconstitution date directly on the vial with a permanent marker. Then run the reverse-check on the first draw every time you open a new vial, not just the first batch.
How do you reconstitute a peptide vial safely?
Reconstitution is the process of dissolving a lyophilized (freeze-dried) peptide powder in bacteriostatic water to create an injectable solution. The physical steps are straightforward, but sterility and labeling discipline determine whether the vial is safe to use across multiple draws.
Supplies checklist
- Lyophilized peptide vial
- Bacteriostatic water (BAC water) for multi-dose vials
- U-100 insulin syringe for drawing and injecting
- Alcohol swabs (70% isopropyl)
- Permanent marker for labeling
- Sharps container
Sterile water for injection lacks that preservative and is appropriate only for single-use reconstitution; using it for a multi-dose vial creates contamination risk with each subsequent draw.
Step-by-step reconstitution
The Peptahub reconstitution guide outlines the following procedure, which minimizes peptide degradation and maintains sterility:
- Clean the work surface and wash hands thoroughly.
- Swab the rubber stopper of both the peptide vial and the BAC water vial with an alcohol swab; allow to air-dry for 10–15 seconds.
- Draw the calculated volume of BAC water into the insulin syringe.
- Insert the needle into the peptide vial at an angle so the water runs down the inside glass wall, not directly onto the powder.
- Depress the plunger slowly; do not force the water in as a jet.
- Remove the needle, then gently swirl the vial until the powder dissolves. Do not shake; shaking can degrade peptide bonds.
- Inspect the solution. It should be clear and colorless. Discard if cloudy, particulate, or discolored.
- Label the vial immediately: concentration (mg/mL), date of reconstitution, and time.
- Refrigerate at 2–8°C (36–46°F).
Storage stability
Most reconstituted peptides are stable for approximately 28 days under refrigeration, though this varies by compound and formulation. The table below lists typical refrigerated stability windows for common research peptides; always follow the specific product labeling when it differs from these general guidelines.
| Peptide | Typical refrigerated stability |
|---|---|
| BPC-157 | ~28 days |
| TB-500 | ~28 days |
| Ipamorelin | ~28 days |
| CJC-1295 (no DAC) | approximately two to three weeks |
| CJC-1295 with DAC | ~28 days |
| Sermorelin | approximately two to three weeks |
| Tesamorelin | approximately 21 to 28 days |
| GHK-Cu | ~28 days |
| AOD-9604 | ~28 days |
Freeze reconstituted vials only if the product labeling explicitly permits it; repeated freeze-thaw cycles degrade most peptides. Discard any vial past its labeled stability window regardless of appearance.
Common peptide protocols: vial sizes, doses, and syringe units
The table below provides starting reference data for eight widely used research peptides. These figures represent commonly cited starting ranges drawn from practitioner and research community protocols; they are not prescriptive medical doses. Consult a clinician and the original research before applying any protocol.
Peptigrity's peptide dosage guide compiles starting ranges and cycle lengths for many of these compounds and details the GLP-1 titration schedules that apply to semaglutide and tirzepatide.
A few category-specific notes:
- GH secretagogues (Ipamorelin, CJC-1295, Sermorelin): dose on an empty stomach, typically 2–3 hours after the last meal, to avoid blunting the growth hormone pulse with elevated insulin.
- Tesamorelin carries an FDA-approved human dosing schedule for HIV-associated lipodystrophy; that titration protocol is mandatory for clinical use and should not be modified without physician oversight.
- GHK-Cu doses are often expressed in mg rather than mcg because the compound is used at higher mass quantities than most GH secretagogues.
- Premixed blends (e.g., BPC-157 + TB-500 combinations): label concentration reflects total blend mass. Use the supplier's component ratio and the blend-splitting calculator function to determine each peptide's mcg per draw.
For deeper compound-specific profiles, the USAPeptide articles library covers individual peptide mechanisms and research summaries.
How do you inject a peptide subcutaneously?
Subcutaneous (SubQ) injection places the peptide into the fatty tissue just beneath the skin, where absorption is gradual and consistent. The technique is straightforward once the steps are practiced, and correct site rotation reduces the risk of localized tissue changes.
Injection steps
- Wash hands and prepare a clean surface.
- Draw the calculated dose into the syringe; remove air bubbles by tapping the barrel and gently depressing the plunger until a small drop appears at the needle tip.
- Swab the injection site with an alcohol swab and allow it to dry completely before inserting the needle.
- Pinch a fold of skin between thumb and forefinger at the chosen site (abdomen, outer thigh, or lateral deltoid area).
- Insert the needle at 90° for a standard insulin-length needle (4–8 mm), or at 45° if using a longer needle or if the subject has minimal subcutaneous fat.
- Inject slowly and steadily; rapid injection increases discomfort and can cause localized pressure.
- Hold the needle in place for 5–10 seconds after the plunger bottoms out, then withdraw at the same angle used for insertion.
- Apply light pressure with a clean swab; do not rub, as rubbing can disperse the peptide unevenly.
Syringe and needle selection
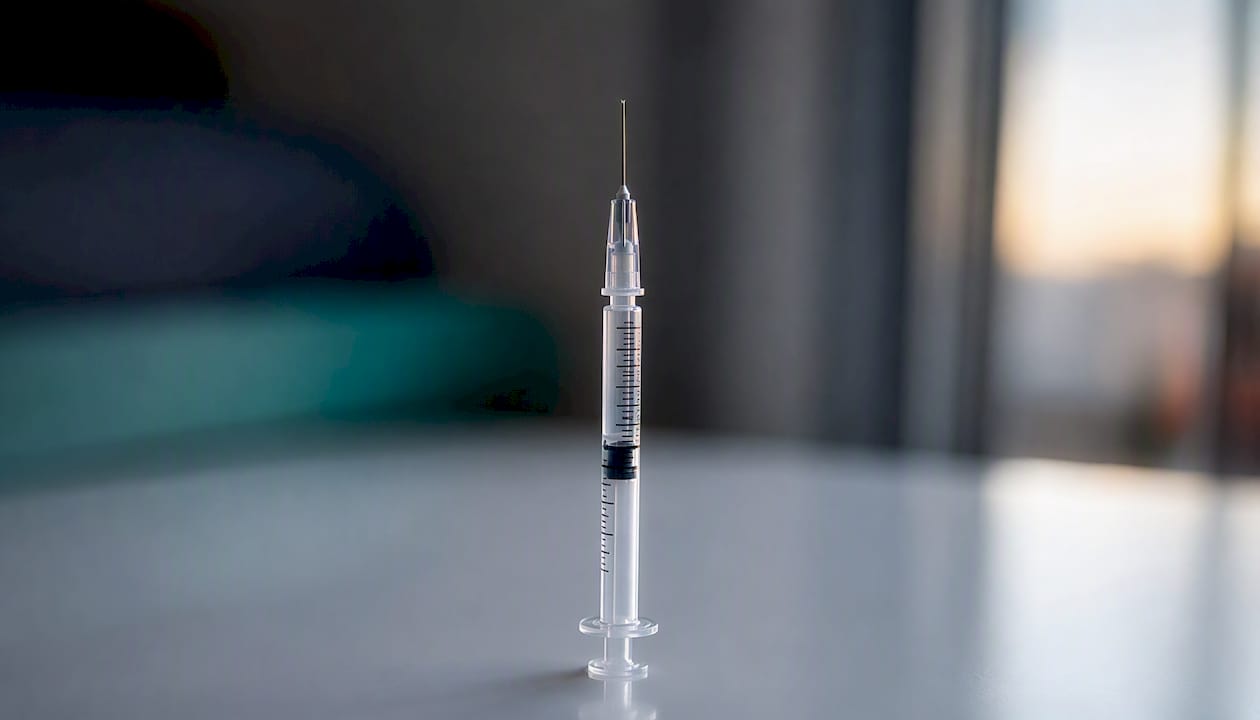
U-100 insulin syringes with 29–31 gauge needles are standard for SubQ peptide administration. Finer gauges (30–31G) reduce injection discomfort and are appropriate for aqueous peptide solutions, which have low viscosity. For very small doses (under 20 units), a 0.3 mL barrel makes each tick mark represent a smaller volume, improving accuracy.
Site rotation
Rotate injection sites systematically, for example, moving clockwise around the abdomen with each injection. Repeated use of the same site can cause lipohypertrophy (a firm, fatty lump under the skin) that alters absorption rates. Small bruises are common and usually resolve within a few days; persistent lumps, redness, warmth, or discharge warrant medical review.
Needle disposal
Used needles must go into an approved sharps container immediately after withdrawal. Never recap a used needle. Once the container is three-quarters full, seal it and dispose of it through a local collection program. Safeneedledisposal maps authorized drop-off locations across the United States. The FDA's sharps safety guidance covers additional handling rules for home and travel use.
Seek immediate medical attention if you experience severe pain at the injection site, spreading redness or warmth, fever, or pus, as these may indicate infection.
What are the safety limits and regulatory context for peptide dosing?
Every dosing protocol in this guide is presented as research reference information, not medical advice. Dose selection, titration, and administration for human use require clinician oversight, particularly for compounds with known contraindications or FDA-regulated schedules.
Contraindications and interactions to know
- Active malignancy or history of cancer: several peptides, including GH secretagogues, may stimulate growth pathways; use requires oncology review.
- Pregnancy and breastfeeding: safety data for most research peptides in pregnancy is absent; avoid without explicit medical guidance.
- Active systemic infection: peptides that modulate immune function (BPC-157, TB-500) should be used with caution during acute infection.
- Drug interactions: GLP-1 receptor agonists (semaglutide, tirzepatide) slow gastric emptying, which can alter the absorption of orally administered medications taken concurrently.
- Diabetes medications: GH secretagogues can affect insulin sensitivity; individuals on insulin or oral hypoglycemics need glucose monitoring adjustments.
GLP-1 titration: the most consequential dosing rule
GLP-1 therapies (semaglutide, tirzepatide) are the outliers in the peptide category. Both carry FDA-approved titration schedules, and skipping the ramp-up phase is the single most consequential dosing mistake for these drugs. Severe gastrointestinal side effects, including nausea, vomiting, and gastroparesis, are strongly associated with dose escalation that outpaces the titration schedule. The FDA-approved schedule for semaglutide begins at 0.25 mg weekly for four weeks before any increase; tirzepatide starts at 2.5 mg weekly. These schedules are mandatory for clinical use and are not adjustable without physician direction.
Dose escalation protocol for research peptides
For peptides without a formal FDA titration schedule, a practical rule applies: start at the low end of the published range, hold that dose for one to two weeks while monitoring for side effects, and escalate only with clinical oversight. Doubling a dose in the first week because effects are not yet apparent is a common error that amplifies side effect risk without proportional benefit.
Purity matters as much as dose. The USAPeptide COA check tool provides guidance on evaluating COA legitimacy before ordering research-grade peptides.
How do you avoid the most common peptide dosing mistakes?
Most dosing errors fall into a small number of repeatable categories. The checklist below addresses each one before it becomes a problem.
Pre-injection checklist
- Confirm the vial mg printed on the label matches what you entered in the calculator.
- Write the concentration (mg/mL) and reconstitution date on the vial before the first draw.
- Choose a water volume that places the target dose in the 10–50 unit range on your syringe.
- Use bacteriostatic water for any vial you will draw from more than once.
- Run the reverse-check on the first draw: units drawn × concentration ÷ 100 = mg delivered.
- Discard the vial at the labeled stability window, not when it looks empty or cloudy.
Top mistakes explained
Confusing mg and mcg is the most frequent calculation error. A 250 mcg dose is 0.25 mg. Entering 250 mg into a calculator instead of 0.25 mg produces a 1,000-fold overdose on paper. Always confirm the unit before entering a value.
Skipping GLP-1 titration is covered above but bears repeating: no other peptide class carries the same mandatory ramp-up requirement, and the GI consequences of skipping it are severe.
Reconstituting with too much water dilutes the solution so the target dose falls below 5 units, making accurate measurement unreliable. Too little water concentrates the solution so the dose lands above 50 units on a small barrel, compressing the readable range. Solve for the water volume that puts the dose in the middle of the syringe's readable range.
Failing to label the vial means the concentration is unknown after the first session. Without a labeled concentration, every subsequent calculation starts from an assumption, not a fact.
Pro Tip: Log each vial setup in a simple notebook or spreadsheet: vial lot, mg, water added, concentration, reconstitution date, and doses drawn. This record lets you reproduce any setup exactly and catch drift between batches.
Pro Tip: If a dose calculates to a non-round unit number (e.g., 12.5 units), adjust the water volume slightly so it lands on a whole number. A 2 mL addition instead of 2.1 mL can shift a 12.5-unit draw to a clean 10-unit mark, reducing reading error.
The case for concentration-first workflows in peptide research
The USAPeptide Team's view is that the single biggest gap in most peptide dosing guides is not the formulas themselves — those are straightforward — but the absence of a structured workflow that prevents the user from re-entering vial data across multiple calculations. Every time a researcher types a concentration from memory rather than from a labeled vial, there is an opportunity for a transcription error. The concentration-first, enter-once model eliminates that opportunity.
Equally underappreciated is the role of compound purity in dosing reproducibility. ISO 17025-accredited testing and a verified COA are not bureaucratic formalities; they are the quality floor that makes a dosing calculation meaningful. Researchers who skip the COA review are, in effect, dosing an unknown concentration regardless of what the label says.
The USAPeptide platform was built around both of these principles: a calculator that persists vial data across all four conversions, and a COA check tool that helps researchers evaluate whether the purity data behind a vial is credible before the first reconstitution.
USAPeptide tools that support this workflow
Researchers who have worked through the math in this guide can confirm their numbers using the USAPeptide peptide dosage calculator, which implements the enter-once workflow across all four conversions: dose to units, units to dose, water for a target syringe mark, and blend splitting. No re-entry between tabs.
Before ordering any research-grade compound, run the supplier's COA through the USAPeptide COA check tool to verify purity claims and accreditation status. For researchers focused on tissue repair protocols, the recovery peptide reference page compiles curated profiles for BPC-157, TB-500, GHK-Cu, and related compounds, including typical reconstitution volumes and starting dose ranges. Start with the calculator, verify the COA, then proceed to the compound reference that matches your research focus.
Sources
The following resources were referenced throughout this guide and are recommended for verification and deeper reading:
- Safely Using Sharps: Needles and Syringes at Home, Work, and Travel — FDA
- Safeneedledisposal
- Peptide Calculator: Reconstitution, Dosage & Syringe Units (Free) — Shotlee
- Peptide Dosage Calculator — Rite Aid
- Peptide Dosage Guide: Doses, Timing and Cycle Lengths — Peptigrity
- How to Reconstitute Peptides: Dosing Math, Protocol & Storage — Peptahub
This article is general information, not a substitute for advice from a qualified doctor. Consult a qualified healthcare professional about your own circumstances before acting on anything here.